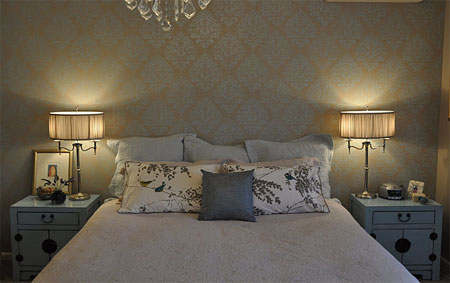
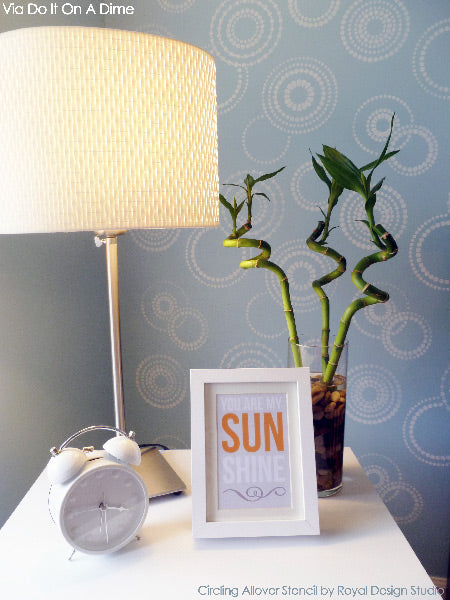
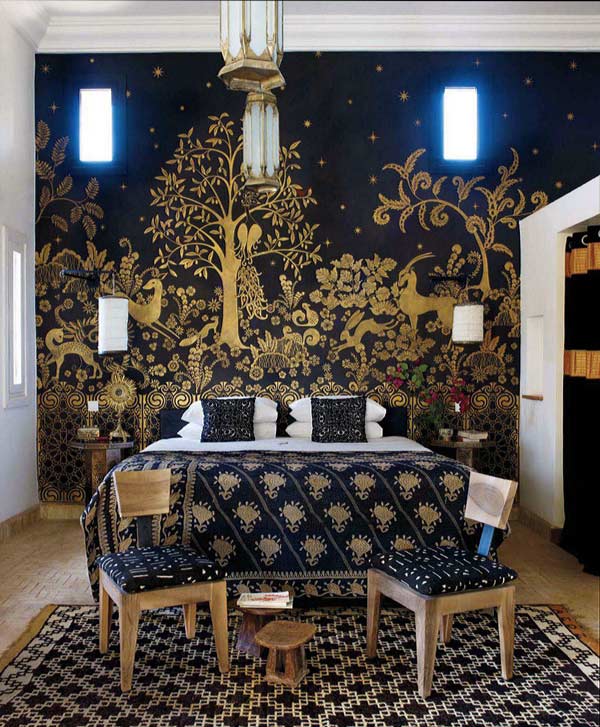
d. Faux finishes
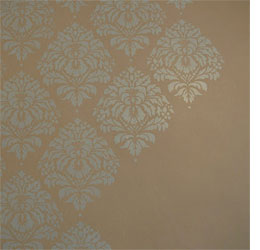
Damask design in metallic paint
 You will need:
Stencil of choice
Spirit level
Pearlescent acrylic paint
Foam roller or stencil brush
Paint tray
Masking tape (low tack)
Paper towels
A step ladder helps too
Step 1
Work out your colour combination before you start.
Try it out on a piece of cardboard painted in the background colour,
this will also help you get your stencil technique down pat.
Step 2
Mask off the sidewalls, skirting and ceiling. If you are doing
whole room stenciling, start in an inconspicuous place because your
technique will improve as you go through it.
 Step 3
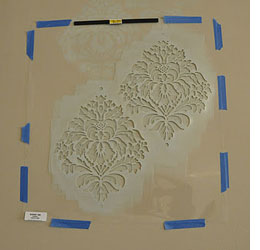
Place your stencil on the wall using your stencil level to line it
up and blue masking tape to hold it in place.
Load your foam roller
with paint then roll it back and forth on the tray to remove
the paint and then again on the paper towels until it feels quite dry.
This is important because the last thing you want is for it to bleed
under the stencil edge if you have too much on. Use a light to medium
pressure on the roller.
 Step 4
Reposition the stencil to directly below the first one and you
will be able to use part of the design as registration marks for the
next print.
Keep checking that it is square with the stencil level.
Make sure that your paint is dry enough when you move it.
Step 5
Once you have finished across the whole wall it is time to go
back and fill in the edges and ceiling and base. It doesn't matter if you
don't have all the detail, you wont notice it.
GOOD TO KNOW
keep a damp cloth near by in case you make a mistake, if you act quickly you can wipe it away so be prepared.
More Info: http://www.home-dzine.co.za/
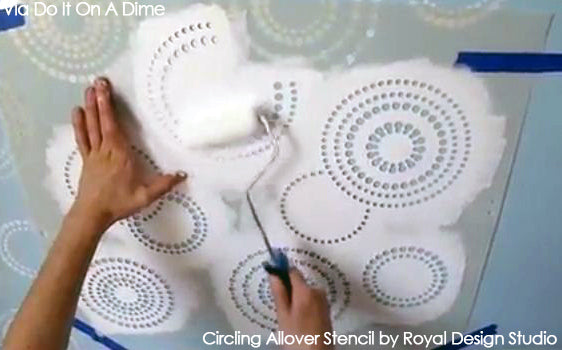
More Info: http://www.royaldesignstudio.com/
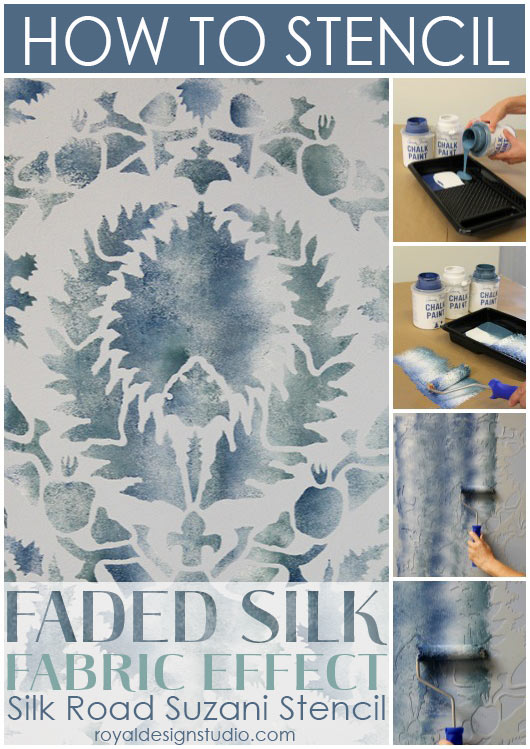
Stencil How-to: Faded Silk Suzani Fabric Finish
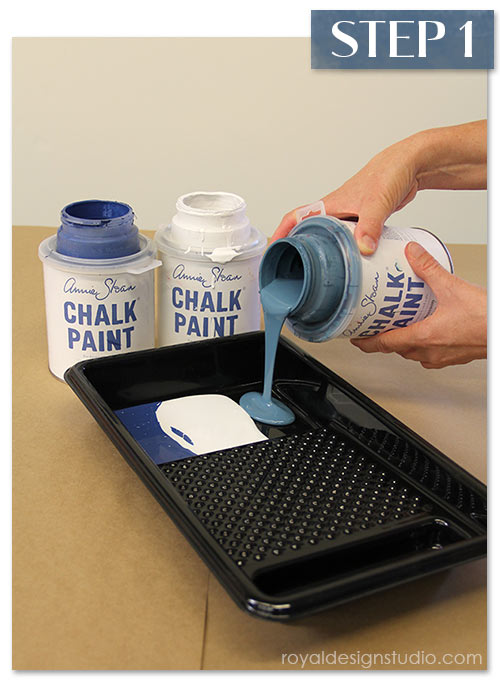
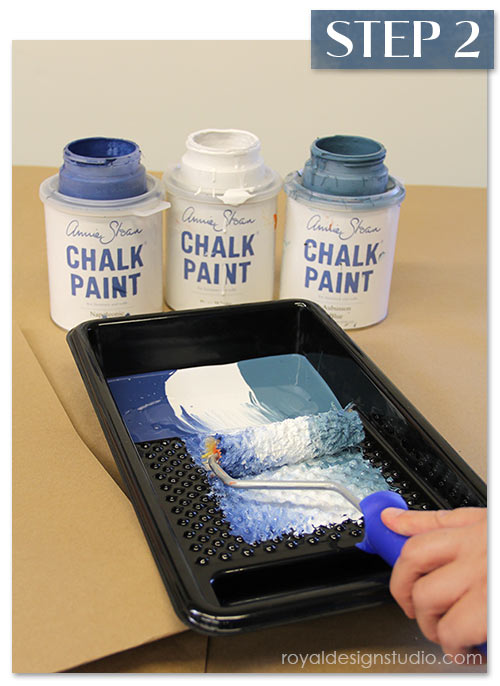
Step 1: Pour all three colors of Chalk Paint® decorative paint
side-by-side in an 8" roller tray, taking care not to mix the colors
together. Note the we placed the Pure White Chalk Paint® in the middle
to add more contrast to our finish.
Step 2: Carefully load a 4" nylon nap roller by rolling
through the paint and up onto the textured portion of the roller tray.
Make sure to pull your roller straight so that the colors stay separated
on the roller.
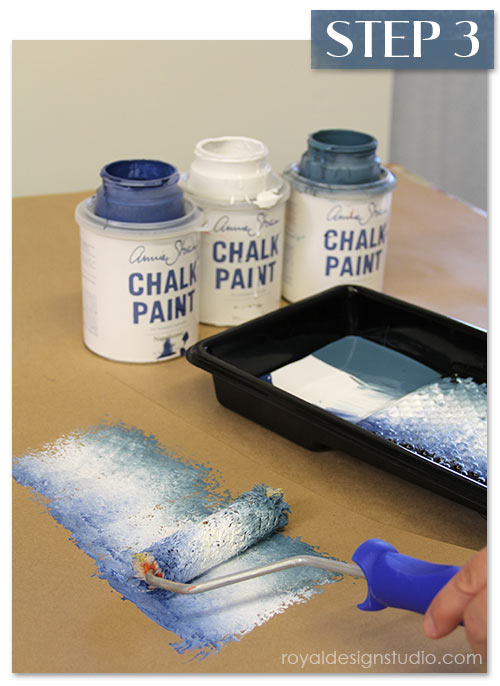
Step 3: Even though the Chalk Paint® decorative paint features a
very thick consistency that makes it ideal for roller stencil
techniques, you will want to remove some of the excess paint and allow
the colors to blend a bit at the edges. Roll the wet roller gently over a
stack of paper towels or onto contractor's heavy butcher paper.
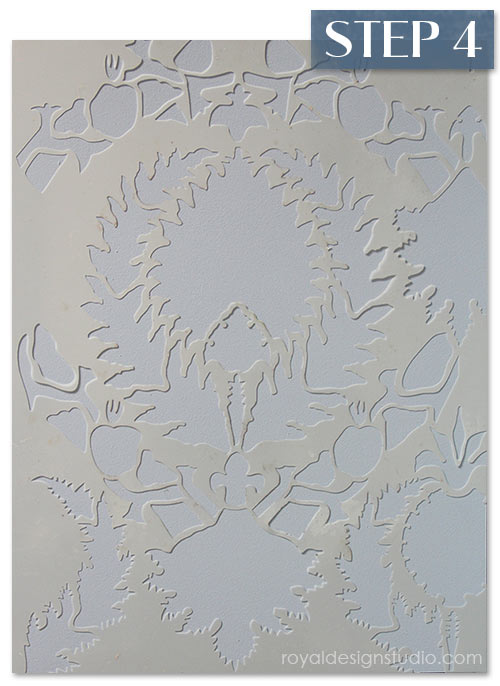
Step 4: Begin with your Silk Road Suzani stencil centered on
your feature or focal point wall (so that the pattern ends the same at
the left and right edges). There is no need to use stencil spray
adhesive with this technique. It is very forgiving and if a little paint
seeps delicately under the stencil here and there it will only add to
the authenticity of the finish.
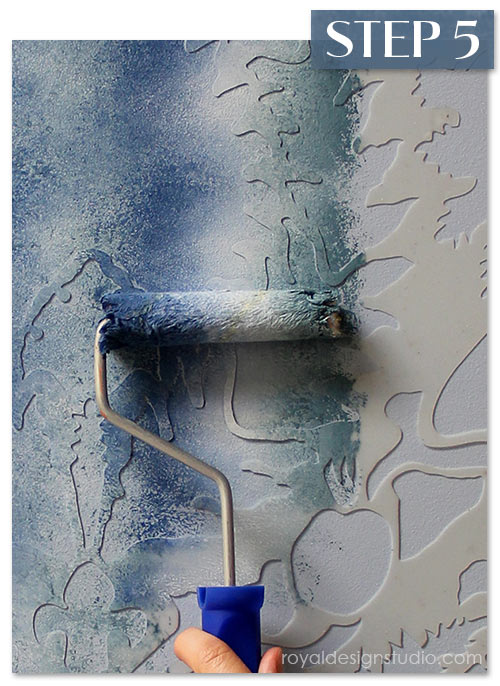
Step 5: Begin with a light pressure and roll the loaded paint
roller straight up and down over the open stencil areas. Roll up and
down in a small area until you get the coverage you desire.
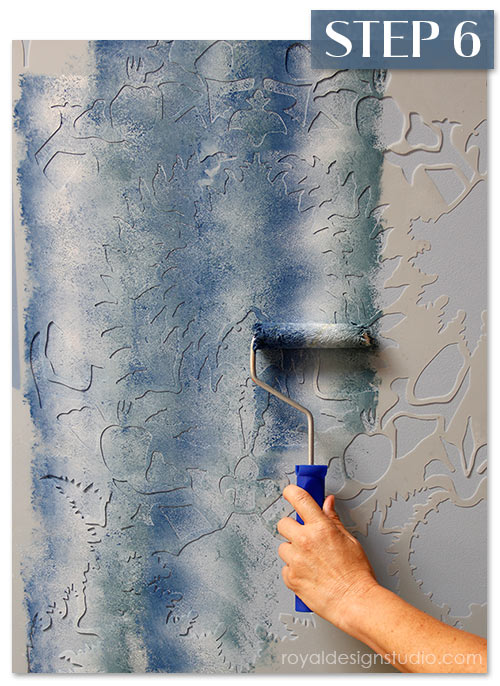
Step 6: Use the window and laser cut registration marks in the
stencil to easily line up the pattern repeats as you work across the
wall. When you begin a new section overlap the roller slightly on the
previous pass. The Chalk Paint® will dry very quickly, so you don't have
to worry much about smearing your previous prints. Over a large surface
area, you will want to stop periodically to clean your stencil with
Motsenbocher's Lift Off #5.
We also recommend that you switch out to a new roller now and then to
keep you colors from muddying too much and refill your paint tray
carefully.


No comments:
Post a Comment